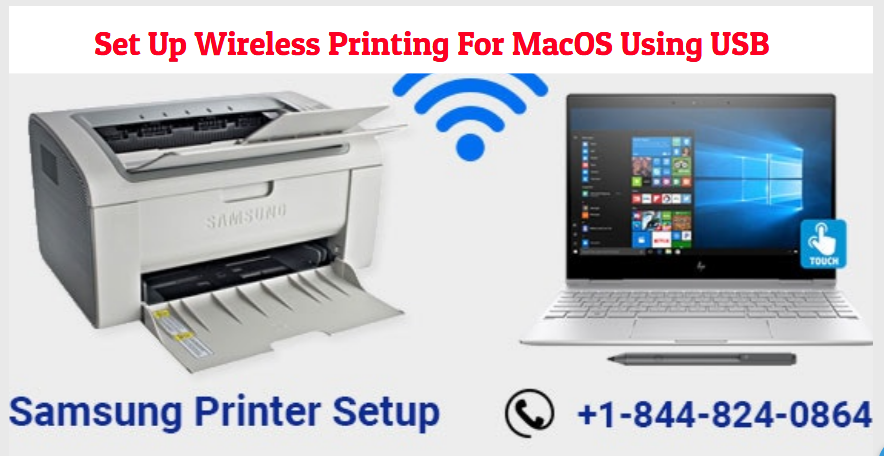
Samsung Printer Setup: Set Up Wireless Printing For MacOS Using USB
Have you just purchased a new Samsung Laser Printing and looking forward to setting it up? Well! We are here to help you. In this guide, we are going to share the simple instructions that you can follow to complete the Samsung Printer Setup wirelessly for your MAC device using the USB connection.
Important - We recommend you to install the latest printer and scanner devices for your device. If you did not install the printer driver, visit the Samsung official website and download the drivers for your MAC device.
For the Samsung Printer Setup, follow the below-mentioned guidelines:
- Connect the USB cable on the printer’s USB port and after that connect the other end of the cable to the MAC device.
- Once a connection is established, run the Wireless Setting Application to open the wireless setup.
- The main installation screen will display the ‘Samsung Easy Wireless Setup’ page. Tap on Next to begin the setup.
- Choose the ‘Wireless Setup’ method. For the initial setup without network connectivity, choose ‘Using a USB Cable’ option and tap on the Next.
- Connect the Samsung printer to MAC Device on a temporary basis. Tap on the Next.
- The installation wizard will start searching for the connected devices and also fetch the wifi details.
- If your printer is not found, the ‘Printer Not Found’ dialog box will appear on the screen. Check the USB connection between the MAC and Printer. Now, tap on the printer not found dialog box. You can also try using the different USB cable.
- If your printer is still not found, the ‘Printer Not Found Dialog Box’ will appear on your screen. Check and make sure that your printer is turned and all set to print the documents.
- Now, you will see the list of wireless networks. Select your network and tap on the next. If your network is still not appearing, contact the Samsung Printer Support team.
- Enter the Security Key (WEP/WPA/WPA) in the ‘Network Password’ field and tap on the next.
- Wait till your printer gets connected to the network.
- The Wifi Direct details will appear. If you like to turn on Wifi direct, make sure that you have selected the checkbox. Note down the password and tap on the Next.
- A prompt will display and state that the connection is now complete. Tap on the Finish or Next to continue.
- Your Samsung Printer Setup is now complete. Go to the ‘Print and Scan’ section in System Preference to check your printer.
That’s All! Follow these simple instructions and complete the setup process without any hassle. If you have any doubts or queries, do not hesitate to contact the Samsung Printer Support team. The printer experts will share all the important instructions to set up your printer and also help you to fix the common printer related concerns if there is any. So, get in touch with the expert team now and resolve all the printer related queries.